This post may contain affiliate links.

In Episode 6 we to show you the significant progress we’ve made with our nearly-finished RV renovation. We compressed a ton of physical labor into the previous 5 episodes of our Ultimate RV Makeover series. Now you get to see CC REALLY coming together. In this post and video, we walk you through many areas sharing some of the style and design decisions in the front part of the coach.
Watch the video for a visual walk through and explanation, then read on for more details.
in this video, the RV is about 80% complete. There are still many finishing touches to come that really make an impact. But this stage is a big step forward from Episode 4 – Rebuilding Our RV, where we showed things in rough construction stages. And Episode 5 – Powering Our Off-Grid RV Renovation, where you would have caught a sneak peek of how CC was coming together.
We break this walk through down into sections of the RV.
- Workspaces
- Living Area
- Kitchen
- Dining Area
Bathroom and Bedroom areas will be shared in our next episode.
You can also find many of the items we used in our RV Makeover here on Amazon.
Creating 2 RV Workspaces
As we still work full-time, we need functional work spaces that allow us to work productively. For us, that means good ergonomics, with a dedicated space that does not impact or take over our regular living or dining area. We established primary and secondary work spaces.
Primary RV Workspace
The temporary primary workspace change was initially made right away, and shared in this post. As it turned out, this workspace works extremely well for us. We love that it is also out of the main line of sight when entering our home. Jane also really liked our solution and only made minor suggestions for changes.
Her primary suggestion was to change the support leg for the desk, and to move it back from the end, to make it less visible. And hide the cables. And yes, the desk still gets enough support with the leg moved back. Of course, for travel days, we need to secure the drawers and chair during travel. We will cover all that later in a post RV Makeover shakedown.
We actually share this work space now, as it’s the most optimal for video editing, with the dual monitor. As we both do video editing these days, we take turns working from this space.
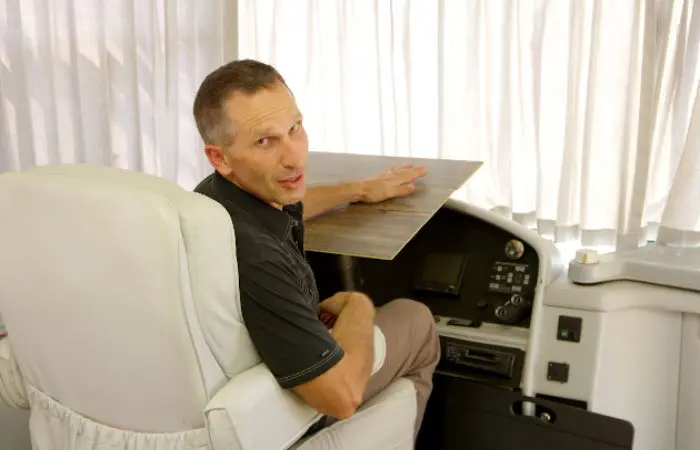
Secondary RV Work Space
The driver seat and steering wheel made an ideal location for our secondary work space. It has a comfortable chair, and great views out the large windows. This was a really simple solution.
We used a few scrap pieces of our new, luxury vinyl plank flooring to serve as the desktop. This creates enough space for a laptop and a few other items. Our bluetooth keyboard and mouse rest on a portable lap desk. And of course, the driver seat is a really comfy and supportive chair, with arms that provide better ergonomics while working.
When we are parked and entertain friends at our RV, we can turn the driver seat around toward the living space. This allows a great use of the available space.
You may recall, when we first bought our RV, we were using a portable workstand/desk, called a computer caddy. We purchased it from Bradd and Hall, but unfortunately, they have stopped making them. While a well-made and functional piece, color-wise, it didn’t match our plans for our RV Makeover. And, we wanted it out of the living space. So we gave the computer caddy to Brett and Danelle, as it works great in their RV.
Updating the Living Area of the RV
In the main living area of the RV, we kept the original couch and reclining chair. They were just so comfortable and in such good condition, even being 20 years old. The jack-knife sofa pulls out to become a bed, or a great area for lounging and watching movies. Plus, there is a huge storage drawer underneath.
All the walls were painted white, and we used black paint for contrast and accents under cabinets, and on some trim. As Jane explains in the video, the black “links” many of the other design and decor elements in the RV. And even picks up on some of the black in the mostly brown flooring.
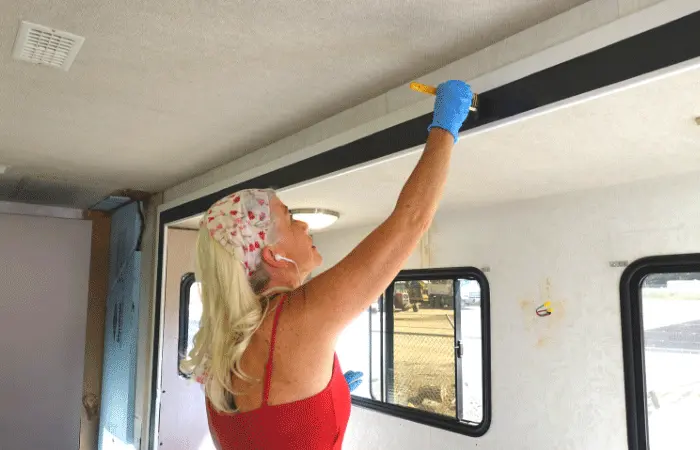
Refreshing the Window Boxes
We were also able to keep the gray fabric covering on original window boxes / valances. Jane and Danelle did an amazing job giving the valances a fresh modern look by removing and replacing the original dated, brown fabric. It took a couple days to re-upholster the valances. We will also share what we did for window shades throughout the RV in the final design reveal post coming soon. As you might have guessed, we removed the old pleated blinds. We’ll show you what we replaced them with soon.
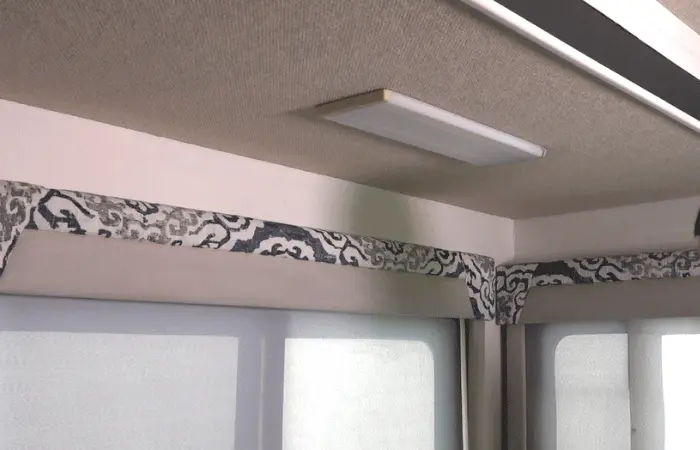
Changing the RV Lighting
Lighting can have significant impact on an RV. We made quite a few changes to really enhance CC. The original ceiling fixtures had fluorescent bulbs. Some of the original fixtures even had broken or missing covers, and looked terrible. We plan to replace the ceiling lights and fixtures with LEDs and will show you how that turned out in the final reveal.
We also added LED strip lights on dimmers underneath the office and kitchen cabinets, that we love. The RV had a sconce light mounted on the wall near the couch which we removed, but we will NOT be installing a new light there. Instead, we are choosing to add a new design element, which will be shared in our final reveal.
You Put a Chandelier in your RV?
Why yes, we did! The last lighting change in the front part of the coach was in the dining area, where we removed the original oyster style light above the booth dinette. We installed a small, silver and crystal chandelier in the dining area that is a smaller version of the chandelier we used to have in our townhome. It was a wedding gift that we loved, had sentimental value, and we were sad to leave it behind when we sold our home. So we were delighted when our friends Elisabeth and John at Splashlight Studio in Boulder, gifted us a mini version.
This mini chandelier ties in very well, as was actually one of the first pieces we already had, so it to set the stage for much of rest of the design in CC.
RV Kitchen Updates
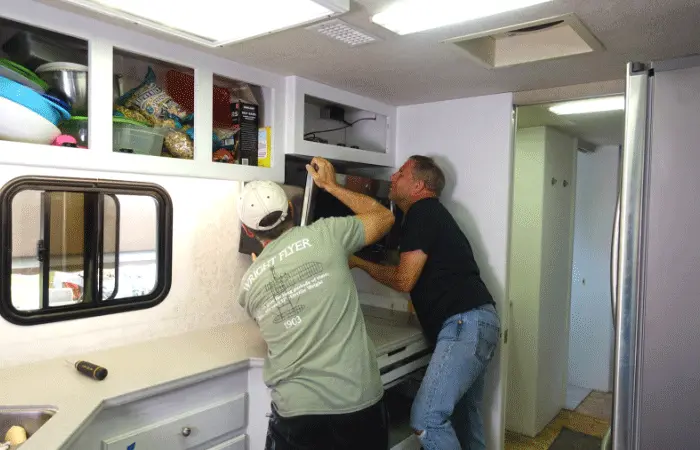
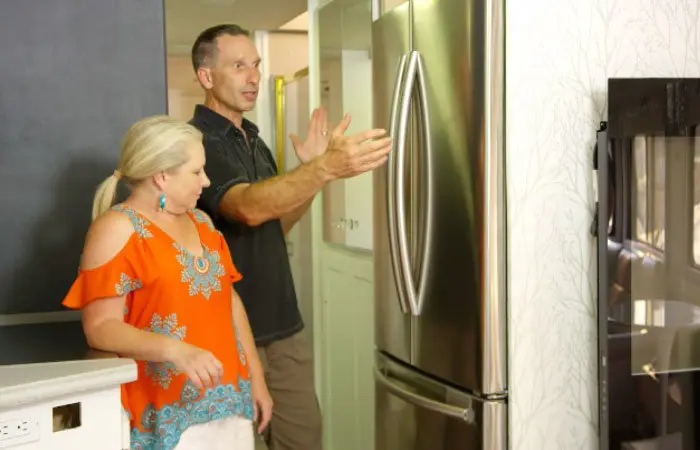
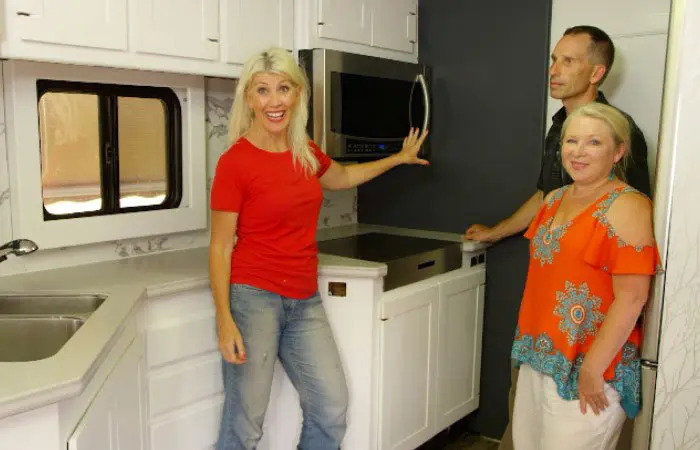
They say the kitchen is often the heart of a home. Our RV is no exception, so our kitchen saw big changes in this renovation. For appliances, we installed a new residential fridge, and a new convection oven. All of the beveled mirrors behind the kitchen counter were replaced with ceramic marble tile. The cabinets were all flipped, with the insides facing out, which is much more modern looking.
We painted the kick boards underneath the cabinets black. This links them into the black theme as well, and makes the cabinets appear to be floating. The largest wall in the kitchen was painted black, to anchor the space and provide contrast. We used a magnetic primer and chalkboard paint so we can use magnets and chalk for fun messages. All other walls and cabinets received a good coat of primer and fresh white paint.
We will be installing the handles for the final reveal, as well as a new faucet plus a few other details.
You can also visit our dedicated Amazon RV Makeover Store to make it easier for you to find many of the items we bought/used in our renovation and decorating of CC.
Custom Pieces for the Kitchen
Two other very exciting upgrades to the kitchen were custom stainless steel pieces. We will share photos of them in episode 7 and episode 8.
The first piece is a replacement for the old broken Corian cover for the range top. It was made out of thicker steel so that it would provide a strong countertop surface. It fits perfectly in the space, and has a handle cut out for easy removal. We also installed a rack in the cupboard below so that we can store the steel cover while cooking.
I also designed a second custom piece in the kitchen as a countertop extension. This piece was a much more complex design but it turned out amazing! It hangs against the side of the counter when not in use. When in use it slides into a bracket mounted on the side of the cabinet and is further supported by a screw-on leg from IKEA (height adjustable).
This counter top extension provides a huge amount of additional counter space for meal prep or presentation. It will also be at a great filming angle, if we start doing more RV cooking videos.
We had these two stainless steel pieces made by HollyFab in Dallas, TX and they did a fantastic job. Both pieces cost $500 ($250 each) plus shipping.
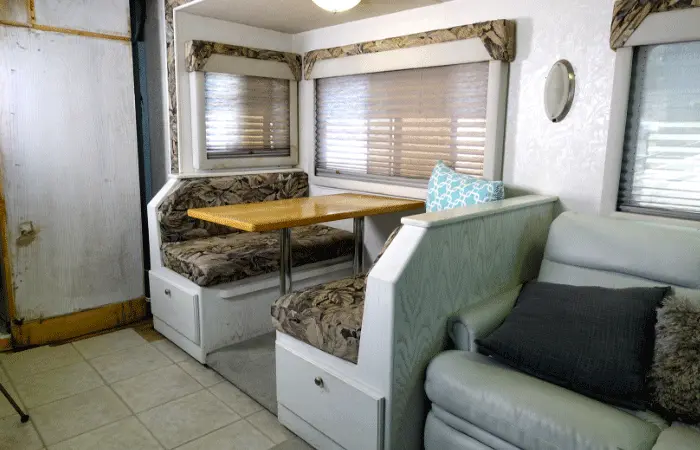
Doing up the Dining Area
The dining area was completely overhauled during the renovation. It is definitely one of the more dramatic visual impacts of the design. The space originally had a traditional booth dinette, and floor to ceiling beveled mirrors as the featured wall.
Creating an L-shaped Dinette
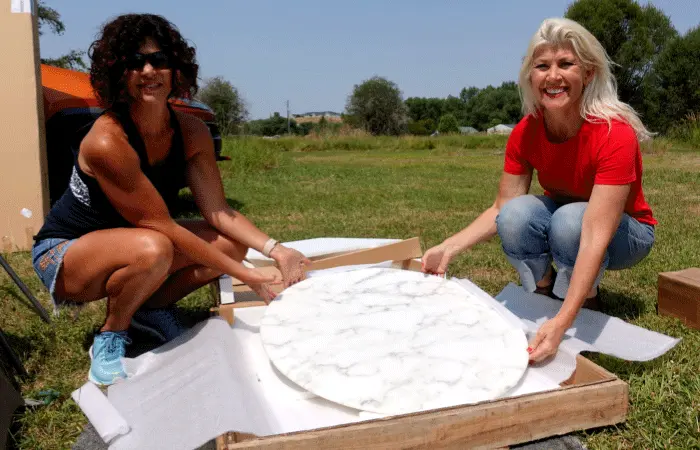
We completely changed the shape of the dining area to an L-shaped design. This allowed more comfortable seating for us, and also visually opened up the space. The new L-shape base offers massive storage underneath as well. The original rectangular table was replaced with a free standing round marble table top with a tulip base. Being free-standing, we are able to move the dining table to the living area when entertaining.
We found our new dining table online, which you’ll find in our RV Makeover store. And while you can see them in the video, we didn’t actually discuss them. Jane had a brilliant idea for the backs of the seats – headboards! We ordered two of different sizes from Wayfair – they fit perfectly, and look great!

Creating a New Feature Wall
We removed the beveled mirrors during the fridge replacement early on, which left an ugly basic wall used temporarily for transporting the fridge to the main renovation location. You would have seen this covered in Episode 2. We needed to rebuild the cabinet around the fridge and were especially careful of our measurements because it was a VERY tight fit.
Jane and Julie covered the new feature wall with peel and stick wallpaper. The new wallpaper has an organic earthy feel with tree branches, but being white and silver, keeps the theme. The silver and white helps link the chandelier and white cabinets and walls. We mounted a vertical, electric fireplace to the wall to provide beautiful ambiance. It also provides heat and adjustable colors, so you can run it any time, to create a mood. You don’t need to run the heat.
But be careful of the measurements. Before we purchased it, the measurements stated that it was only 5 inches deep. But it has a curved glass panel mounted on the front, that makes it over 6 inches deep. That inch was very important in our design because the slide out room needs to pass across the front of the fireplace. It was a close call, with just millimeters to spare, but we are very happy that it all worked out.
You can find our fireplace, and many other items we bought for our RV Makeover here on Amazon.
Coming up, we will share the bathroom and bedroom progress. And of course, we know you are all awaiting the final reveal for the entire RV. We know you will be amazed at how far it comes, even from this fairly progressed stage.
Sign up for our email newsletter with the latest RV park reviews, news and updates.
GOT COMMENTS OR QUESTIONS?
We would love to hear from you. Drop us a note in the comments section below.
More Ultimate RV Makeover Content
Want to check out more on our Ultimate RV Makeover Series? Hover over each image to see the title and episode name.
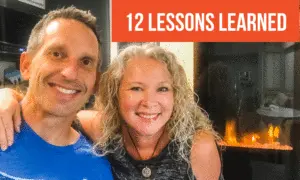
12 Lessons Learned from Our RV Renovation
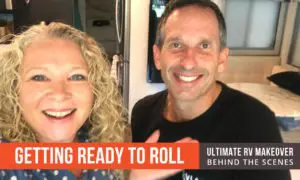
Getting Our RV Ready To Travel After our RV Makeover

What Did It Cost? and RV Renovation Questions
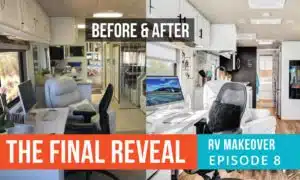
Episode 8 The Final Reveal | Ultimate RV Makeover
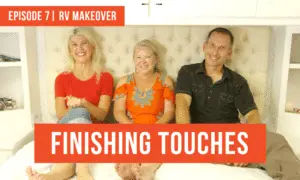
Episode 7: Finishing Touches | Ultimate RV Makeover
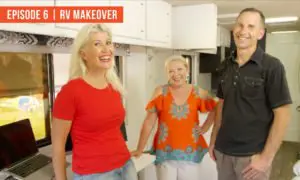
Episode 6: We’re Nearly There! Ultimate RV Makeover
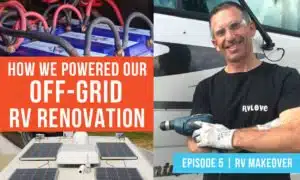
Episode 5: Powering Our Off-Grid RV Renovation | Ultimate RV Makeover
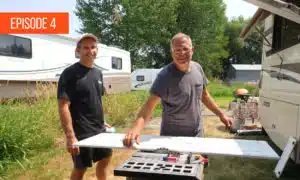
Episode 4: Re-Building Our RV | Ultimate RV Makeover
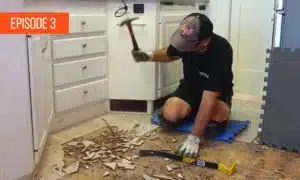
Episode 3: Tearing Our RV Apart! | Ultimate RV Makeover
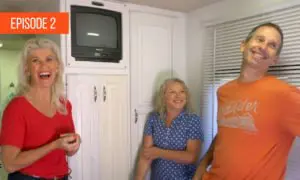
Episode 2: What Are We Going To Do? Ultimate RV Makeover
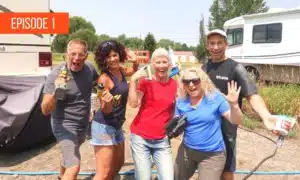
Episode 1: Let’s Do This! Ultimate RV Makeover Series
3 thoughts on “Episode 6: We’re Nearly There! Ultimate RV Makeover”
Where did you get the stainless to cover the stovetop? Thank you.
We had it custom made by a metal fabrication company – Hollyfab in Dallas, TX.